Part of the “Making the Family Photo Wall” post series:
- Choosing Picture Frames
- Arranging Frames on the Wall
- Hanging Picture Frames
- Choosing & Arranging Photos
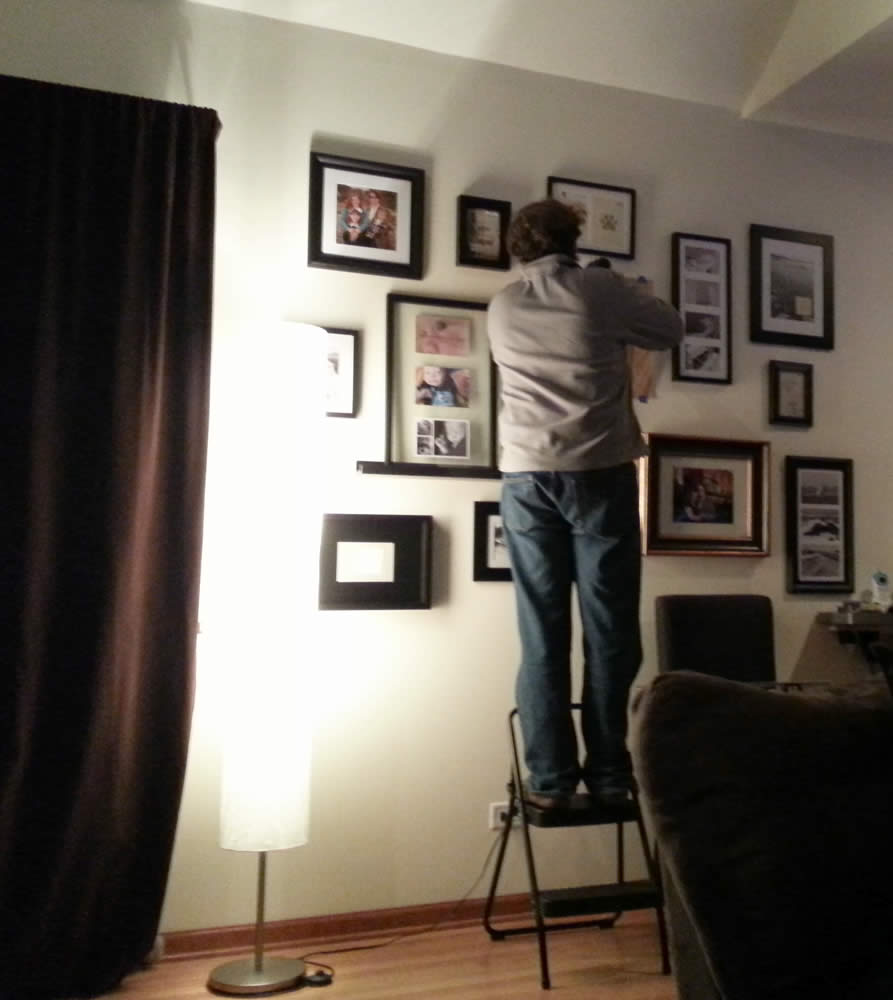
Hanging a single picture frame or painting can be a nightmare in its own right, let alone hanging 14 in a collective display.
There are some tricks however that can really make this relatively painless. Some time ago I learned a great gallery-hanging technique as I was getting ready to hang a gazillion or so paintings throughout our new house. The key here is setting a center focal height and then hanging all frames, paintings, and “collections” centered on that point.
There are a number of guides online, but here’s an excerpt from a great site that I found before that sums it up nicely:
Step By Step:
- Measure and lightly mark 57″ on the wall
- Measure top of your picture to the middle (or take height and divide by 2)
- Measure top of your picture to the tightened wire (a small amount)
- Subtract this last amount to tell you how far above 57″ your hook should go
- Measure up from 57″ with this last amount and lightly mark on the wall
Example:
- Picture is 20″ tall
- Middle is 10″ down from top (this should rest at 57″)
- Wire comes to 2″ below the top
- 10″ – 2″ = 8″
- Lightly mark 8″ above your first mark OR 65″ on the wall
Though this may seem complicated to read, it is quite simple when you do it. The thing to always remember is that the CENTER of all your pictures are hanging at the same 57″, and you are just figuring out where the hook goes above it.
This 57″ also applies to groups of pictures. Think of a group as ONE picture. After you arrange how you want them all to hang (doing this on the floor makes it easier), start with the center picture/pictures and get them at 57″ on center. Then surround them with the rest of the group.
Credit: Apartment Therapy
Clear as mud? See if this illustration helps.

Like a number of the comments, I too found 57″ a little on the low side for my taste, so I’ve adopted 60″ as our center throughout the house. Either way, remember though that this point is where the frame suspension meets the wall hanger…so if you are using the typical wall hanger hooks with the nail at one end that then drops down to form the hook, place the hook portion at your mark, not the nail.
That said, I must confess I didn’t use the centering point approach precisely for our photo wall project since I planned for it to basically fill a generally large space, to begin with. For a larger display like this, I instead aimed for a balance between the top and bottom, though heavier on the top since to be centered vertically would have moved everything down quite a bit lower to the floor. I do however recommend this approach for “normal” frame hanging.
While the technique above is worth its weight in gold, what really makes hanging multiple frames in a room, either grouped or individually, is a little bit of modern technology.
Cue the laser mouse.
I first learned of the absolute brilliance of this tool when I used it to hang 11 frames in the nursery before our son Hamilton was born. Most of these frames were aligned horizontally as groups and the laser mouse allowed me to easily mark off the center point along the wall to measure up from for setting the hooks.
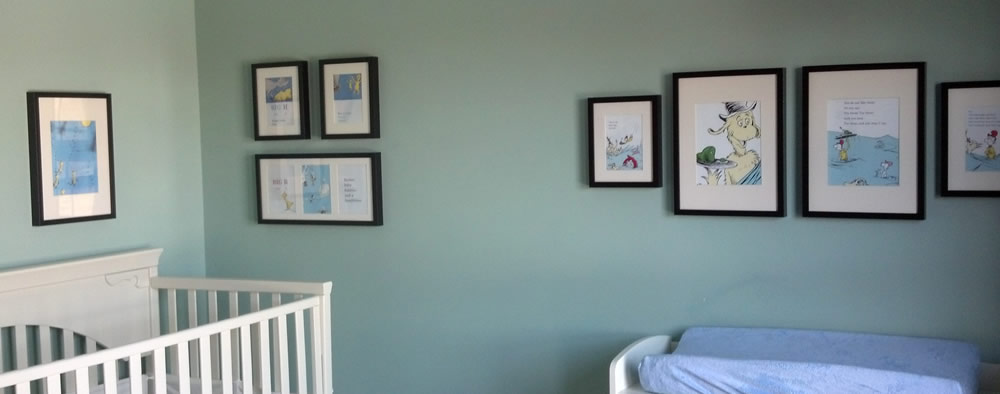
While I didn’t use it on the family photo wall for the individual frames, I did use it to frame out the borders for the photo wall as well as to create a 3×3, horizontal and vertical grid with the aid of blue painter’s tape.
Finally, the icing on the cake, Choosing & Arranging Photos